
You can produce as-built drawings from an iPhone by scanning the space with an iPhone Pro or iPad Pro, refining the measured floor plan that comes out of the scan, and exporting it to the tool you draft in: DXF for AutoCAD and SketchUp, IFC for Revit and ArchiCAD, and E57 when you want the point cloud itself. The scan replaces the tape-and-sketch survey and the redraw at your desk. Your drawing standards, sheets, and annotation still happen in your own software.
Here is the workflow end to end, what each output is good for, and a checklist to run before you leave the site.
What “As-Built” Means Here
For most renovation, interiors, and tenant work, “as-built” means existing-conditions documentation: an accurate record of the walls, openings, ceiling heights, and fixed elements that are there today. Not the original design drawings, which may be decades old, and not a survey-grade record for legal or structural use.
The traditional path is two people with a tape and a laser, a hand sketch, a few hundred photos, and then hours at the desk turning it into CAD. A phone scan compresses the field part to minutes per room and removes most of the redraw.
Step 1: Capture on Site
Plan the walk
Decide which rooms and floors you need, and where you will start. Open interior doors, turn on the lights, and note any big mirrors or glass walls, since those need a second look later.
Scan room by room
In SiteScope, a room scan (built on Apple RoomPlan) captures walls, doors, windows, and room areas and turns them into a measured 2D plan. Scan each room, and the rooms come together in one project. Multi-floor buildings stack as separate levels.
Add a point cloud where the detail matters
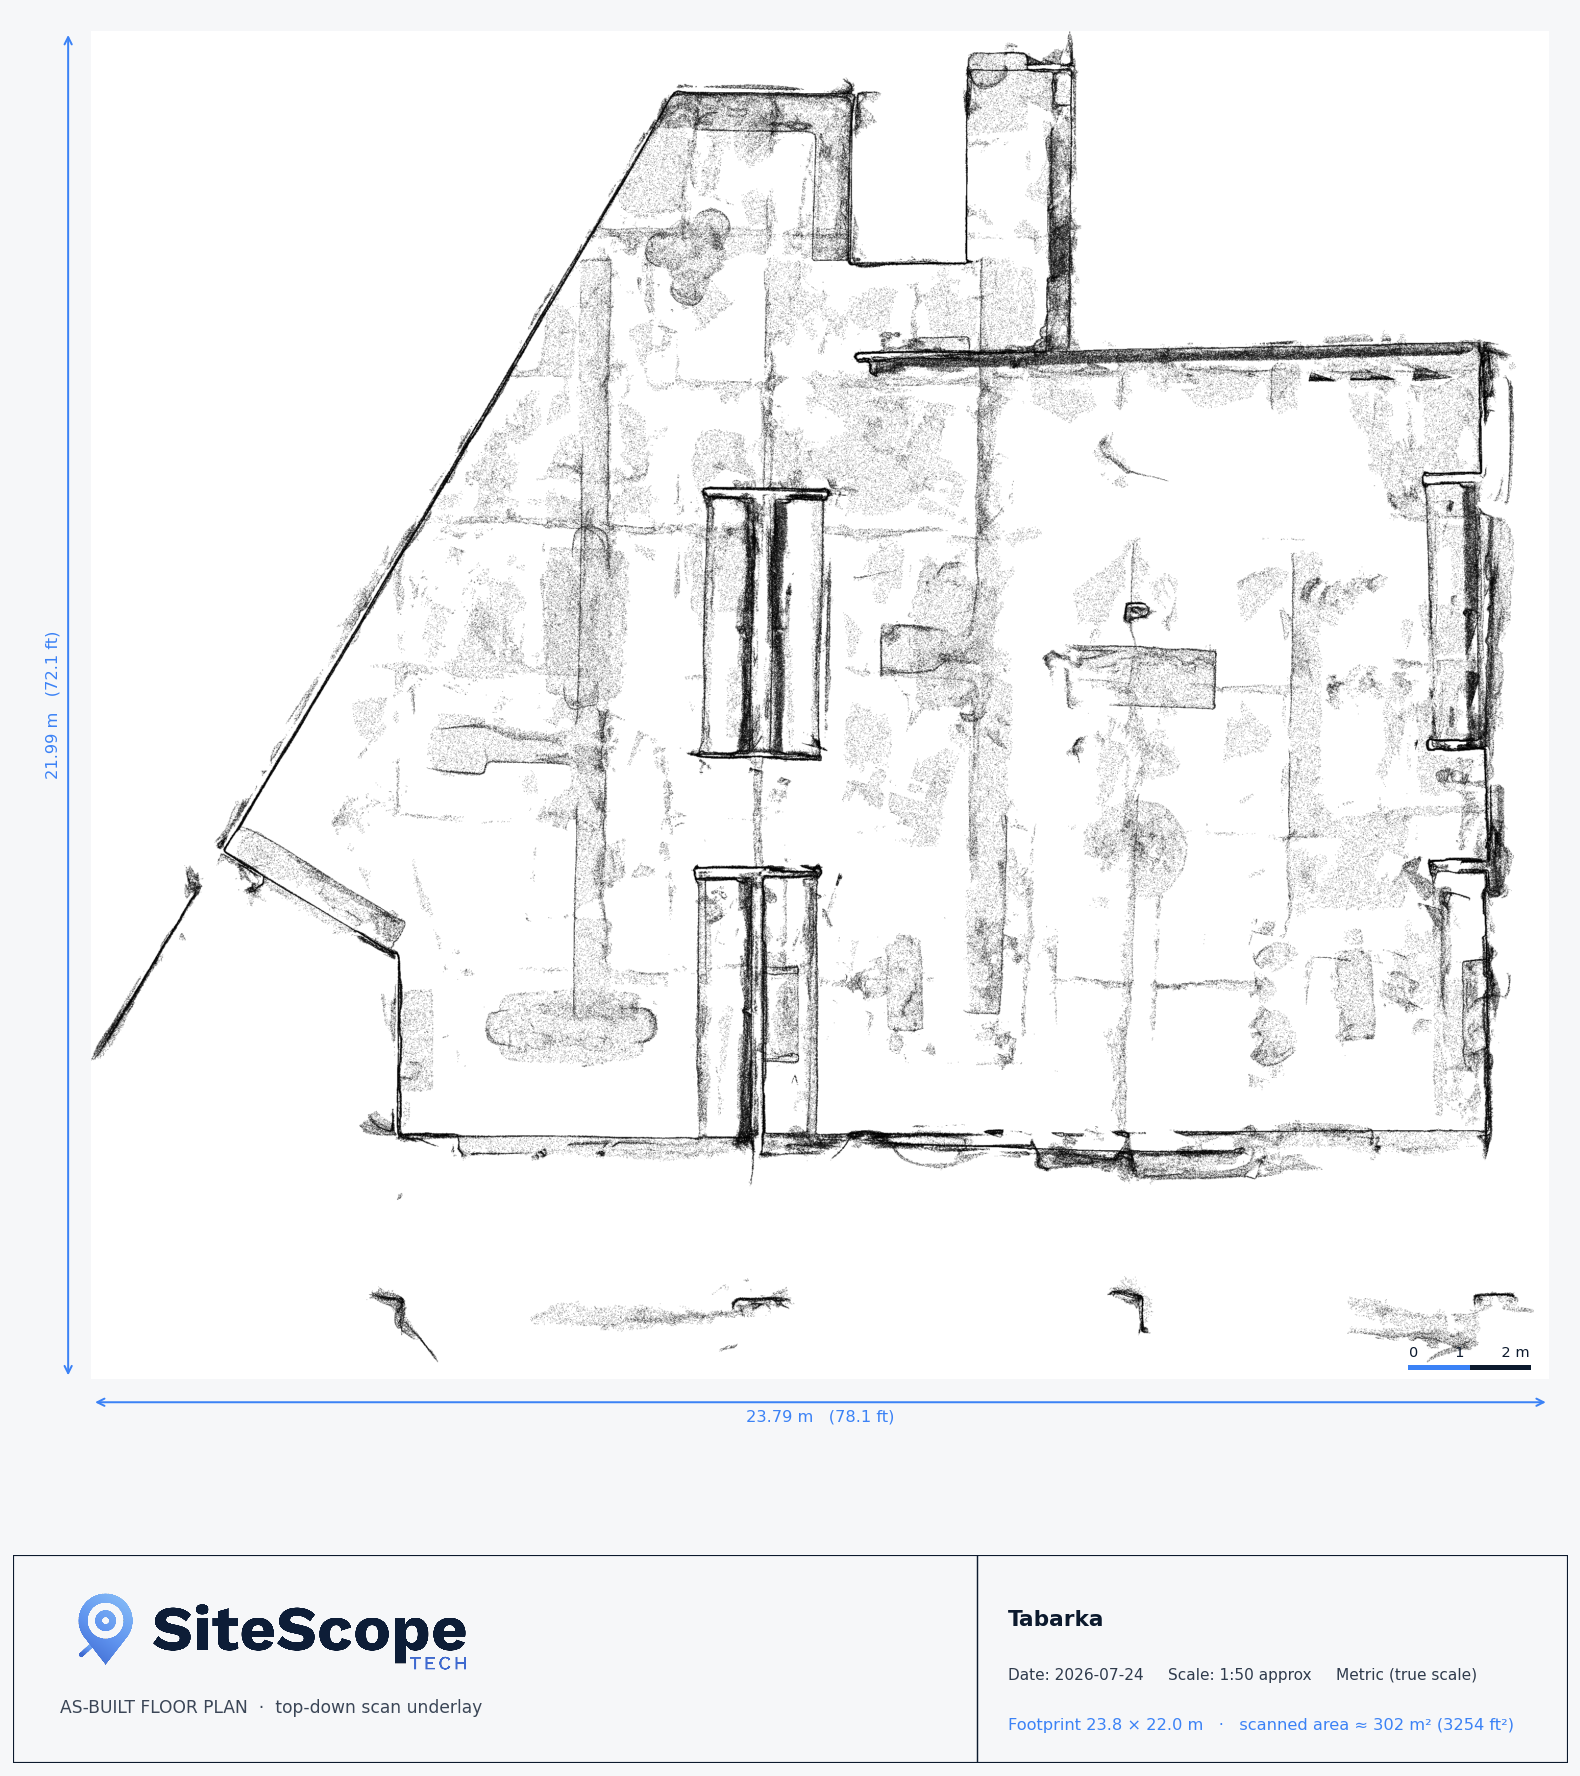
A plan simplifies. Where you need the real geometry, such as exposed structure, soffits, bulkheads, out-of-square walls, or equipment, run a point cloud scan of that area. It records the surfaces themselves as millions of colored points. The iPhone LiDAR point cloud guide covers technique.
Photos and notes
Take photos of the things a scan cannot tell you: finishes, fixture model numbers, damage, labels on panels. Pin notes and photos to their locations so they stay attached to the right spot.
Step 2: What You Get Back
One visit gives you three kinds of record, from the same capture:
A measured floor plan. Walls, doors, windows, room names, and areas, editable in the web editor. It exports as a dimensioned PDF plan set with room, wall, door, and window schedules.
A point cloud. The as-is geometry, which you can orbit, measure, and slice in the browser, and export as E57, LAZ, or PLY.
A photoreal walkthrough. A textured 3D model of the space that opens in any browser. When a question comes up in design, you walk the site again from your desk, no second trip. Share it with your client or consultants by link, with an optional password, email gate, or expiry.
Step 3: Refine Before You Export
A scan captures what the sensor saw, including the odd reading. Before you export, spend a few minutes in the editor:
- Straighten or adjust walls the scan read slightly off
- Confirm door and window positions and sizes
- Name rooms the way your drawings will
- Check ceiling heights in rooms where they vary
- Compare two or three critical dimensions against your field measurements
This is the step that makes the export trustworthy. It is also much faster than drafting from scratch.
Step 4: Take It Into Your Tools
SiteScope works with the tools you already draft in. It does not replace them, and it does not draft your sheets for you. You get measured geometry in open formats, and you apply your own standards.
AutoCAD
Export DXF. It is layered and to scale. Open it in AutoCAD, apply your layer standards and title block, and save as DWG. From that point the file is native. The details are in how to get a DWG-ready file from an iPhone scan.
Revit
Export IFC for an existing-conditions model with walls, doors, windows, rooms, slabs, and stories as real objects. Open or link it in Revit. If you want the point cloud as well, export E57, index it in ReCap, and link it to check the model against the field. See how to import an E57 into Revit.
ArchiCAD
IFC opens in ArchiCAD with the same objects. Add the E57 if you want to trace or verify against the raw cloud.
SketchUp, Vectorworks, Chief Architect
DXF imports into all of them as a measured, to-scale plan to build on. For 3D context, the GLB model and the point cloud exports are also available.
What You Still Do Yourself
Being clear about this saves disappointment later:
- Drafting standards, sheets, and annotation are yours. The export is measured geometry, not a finished drawing set.
- Verification is yours. A phone scan is not survey grade. Room-scale LiDAR captures typically land within a couple of centimeters over a normal room, which suits renovation and design work. Long runs, glass, and mirrors are where to double check. The accuracy breakdown covers this in detail.
- Hidden conditions stay hidden. A scan sees surfaces. What is inside the wall still needs investigation.
Site Checklist
Run this before you leave:
- Every room on the list is scanned, including closets and small rooms people forget
- Each floor is its own level in the project
- Point cloud captured for areas with exposed structure, soffits, or equipment
- Doors and windows look right in the plan preview
- Ceiling heights checked in rooms where they change
- Two or three critical dimensions measured by hand for verification
- Photos taken of finishes, fixtures, panels, and damage
- Notes pinned where they belong
- Glass walls and mirrors noted for cleanup
- Scan uploads started or queued before you drive off
Why This Workflow Holds Up
The value is not that the phone is magic. It is that the measuring and the redrawing, the two steps that add no design value, mostly go away. You get a measured plan, a point cloud, and a walkthrough from one visit, and you keep all of it. If you are weighing this against a dedicated camera system, our SiteScope vs Matterport comparison lays out the differences.
To try it on your next existing-conditions job, start for free with an iPhone Pro or iPad Pro. For a studio-wide rollout, talk to us. You can also see the full workflow on the architects page.
FAQ
Can I get a DWG file from an iPhone scan?
Yes, one save away. Export DXF from SiteScope, open it in AutoCAD, and save as DWG. The file is native from then on.
Does SiteScope draft the as-built drawings for me?
No. SiteScope gives you the measured plan, point cloud, and exports. You draft and annotate in your own tools, whether that is AutoCAD, Revit, ArchiCAD, or SketchUp.
Is an iPhone scan accurate enough for as-builts?
For renovation, interiors, and space planning, generally yes. Room-scale captures typically land within a couple of centimeters over a normal room. Verify code-driven and fabrication-driven dimensions by hand.
What do I need to capture?
An iPhone Pro or iPad Pro with LiDAR (iPhone 12 Pro or later). Review, editing, and exports happen in the web app.
Can I scan a multi-story building?
Yes. Scan each floor, and the floors stack as separate levels. The IFC export keeps them as separate building stories.